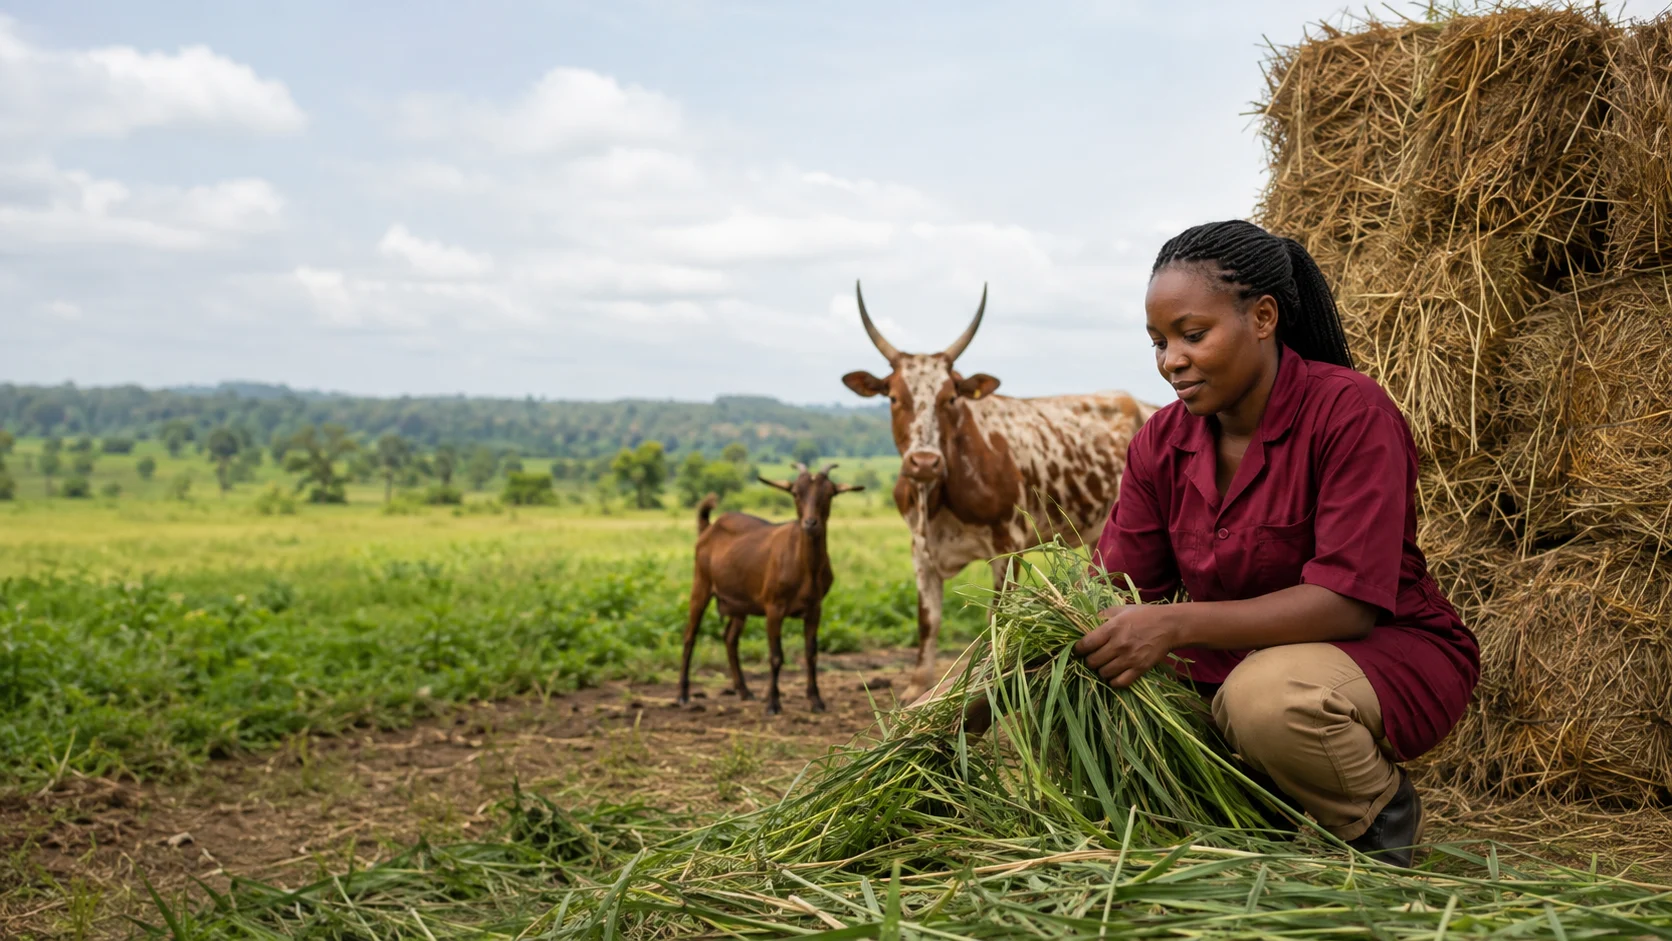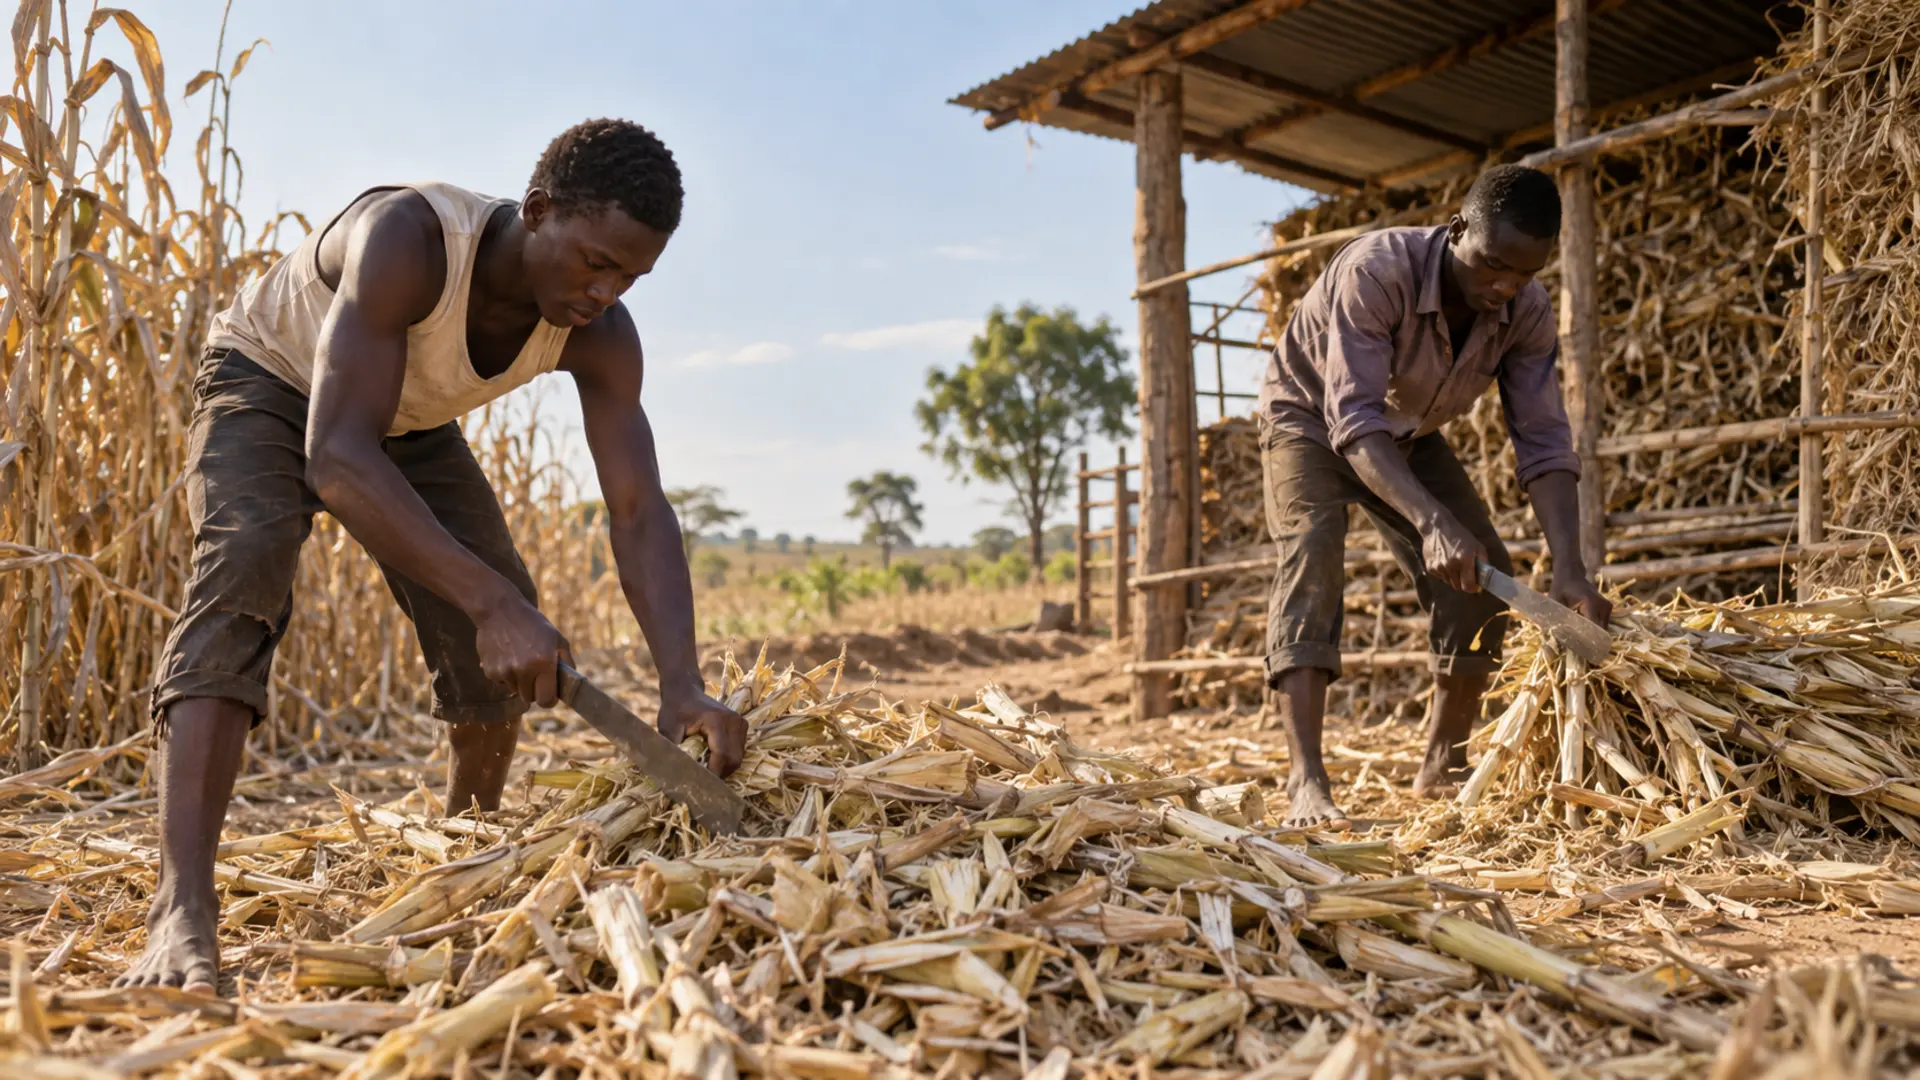
Silage has a reputation among Ugandan smallholders as something that belongs to large farms: a concrete bunker, a tractor to compact it, machinery to chop it. That reputation is the reason many farmers with three cows go into every dry season with nothing conserved.
The reputation is wrong in one important respect. The biology of silage does not care about scale. It cares about two things: that the material is at the right moisture, and that the air is out and stays out. A drum, a heavy bag or a polythene tube can achieve both, and small-batch silage fails almost entirely because one of those two things was not done properly.
This guide is the procedure, with a quality check at the point where it matters most, which is the day you open it.
Why the small container matters in Uganda
Most Ugandan livestock keepers have a few animals rather than a herd, no machinery, and no reason to build a bunker they could not fill. What they do have is a wet season that produces more forage than the animals can eat, followed by a dry season in which they buy feed or watch condition fall.
Both the practice and the training exist locally. Makerere University’s College of Agricultural and Environmental Sciences ran hands-on silage and hay preparation training for cattle-corridor farmers, including practical sessions on compacting grass for silage, under a European Union-funded project. Ugandan farm media have carried repeated coverage of bag and drum silage aimed specifically at smallholders.
Notice what is not in this article: prices. Ugandan press coverage does give shilling figures for bags and drums, but those figures are from a single newspaper report and are several years old, and an article is the wrong place to quote a market price. Get your own quotation.
What this guide helps you decide
Whether a drum, a bag or a tube suits your situation. When to cut and whether to wilt. How finely to chop, and why. How to compact and seal in a container you cannot drive a tractor over. How long to leave it. And how to tell on opening day whether the batch is feed or waste.
The short answer
Cut at the right growth stage. Get the moisture into the right range and use your hand to check it. Chop short. Fill and compact in layers, not all at once. Seal so no air can get back in, and check for holes again after the contents settle. Leave it long enough. Then judge it by smell, colour and texture before anything eats it.
What is actually happening inside the container
Understanding this makes every step obvious rather than arbitrary.
When you seal green forage away from air, lactic acid bacteria already present on the crop ferment the water-soluble carbohydrates in it into lactic acid. The Food and Agriculture Organization’s tropical silage material describes the result plainly: due to the production of lactic and other acids, the pH decreases, giving a range of 3.8 to 5.0. At that acidity the material is stable and the organisms that would otherwise spoil it cannot grow.
When air is present, something quite different happens. The same source describes the aerobic phase that begins as soon as silage is exposed to air, in which yeasts degrade the lactic acid to carbon dioxide and water, causing the pH to rise. It also describes clostridia, and specifically Clostridium tyrobutyricum, degrading lactic acid to butyric acid, hydrogen and carbon dioxide. Butyric acid is what a farmer smells when a batch has failed. That sharp, rancid, unmistakable smell is not a cosmetic problem: it means the fermentation went the wrong way and the animals will refuse the material.
Everything below is in service of two objectives. Give the lactic acid bacteria the sugar and the conditions they need, and give the spoilage organisms no air.
Which crop, and at what stage
Maize is the easiest crop to ensile because it carries plenty of sugar. The stage marker is the milk line in the grain. Feedipedia, drawing on several agronomic sources, describes the optimal time as when the milk line of the grain is situated between one third and two thirds of the way down the grain from the top, and warns that once the black layer appears the dry matter content is above 37 per cent, which is past the ideal. It gives a target of 30 to 35 per cent dry matter.
Sorghum. Florida extension guidance states that both grain and forage sorghums should be harvested at 65 to 70 per cent moisture and typically at the soft-dough stage of grain maturity.
Napier or elephant grass, the most widely available forage on Ugandan smallholdings. Extension guidance from Egerton University, published in Kenyan farm media, recommends harvesting at a height of about one metre and wilting for a day or two to reduce moisture to between 60 and 70 per cent.
Forage legumes are harder, and it is worth knowing why rather than simply being told to avoid them. Florida extension guidance explains that the high protein concentration of legumes buffers, meaning slows, the pH decline during ensiling, and combines that with their low sugar concentration. Wilting helps by concentrating the sugars. A Kenyan coastal trial found that Napier grass mixed with a legume had higher nutritive value than silage made from Napier grass alone, so a mixture is a reasonable route where a pure legume silage is not.
A note on additives. The same Kenyan work found that maize bran could replace molasses as a source of readily available carbohydrates. That is the general category, a sugar source, and this article names no proprietary inoculant, additive or preservative product. If a supplier offers you one, ask them for the trial data and treat the absence of it as an answer.
Moisture, and the squeeze test
The dry matter targets vary by crop and by container. Extension guidance from North Carolina State gives, as general targets, wilting legumes to 30 to 50 per cent dry matter, grasses to 35 to 50 per cent, and maize at 32 to 40 per cent depending on the silo type. Minnesota extension gives maize moisture at 60 to 70 per cent for bags and 65 to 70 per cent for bunkers. Those are the same range expressed in opposite units, so read the units carefully rather than assuming a conflict.
You will not be measuring dry matter. The field test is the squeeze.
Silage Without a Pit: Drum, Bag and Tube Silage for Small Herds
Squeeze test card showing what a fistful of chopped forage does at each moisture band and whether to ensile, wilt further or add material
Florida extension guidance describes it: pick up a handful of finely chopped forage and squeeze tightly for 90 seconds, then read what the ball does when you open your hand. Liquid running freely indicates the wettest band; a ball that holds its shape with the hand staying damp indicates a middle band; a ball that springs open indicates the driest.
The same source is candid about the test’s standing, and this article repeats its words rather than dressing them up: although not precise, this is a fast and practical test that can be used in the field, and it should not be used alone.
The two failure modes it protects against are opposite and both serious. Too wet and the fermentation runs towards butyric acid and effluent runs out of the container. Too dry and the material will not compact, air stays in it, and moulds take hold.
Chopping
Chop length recommendations from research sources cluster around three eighths to one half of an inch for unprocessed maize and legume silages, rising to about three quarters of an inch for kernel-processed maize. Minnesota extension gives 0.375 inch as a theoretical length of cut and explains the reasoning: breaking cobs and kernels increases surface area, which leads to higher density silage that packs better.
East African smallholder guidance is coarser and works. Kenyan extension guidance for Napier gives about an inch. Ugandan farm media guidance gives about three centimetres, tied explicitly to air removal during compaction.
Take the practical rule from the reason rather than the number. Short material packs; long material bridges and traps air. If you have a chaff cutter, use it. If you are cutting by panga, cut shorter than feels necessary.
The three container formats
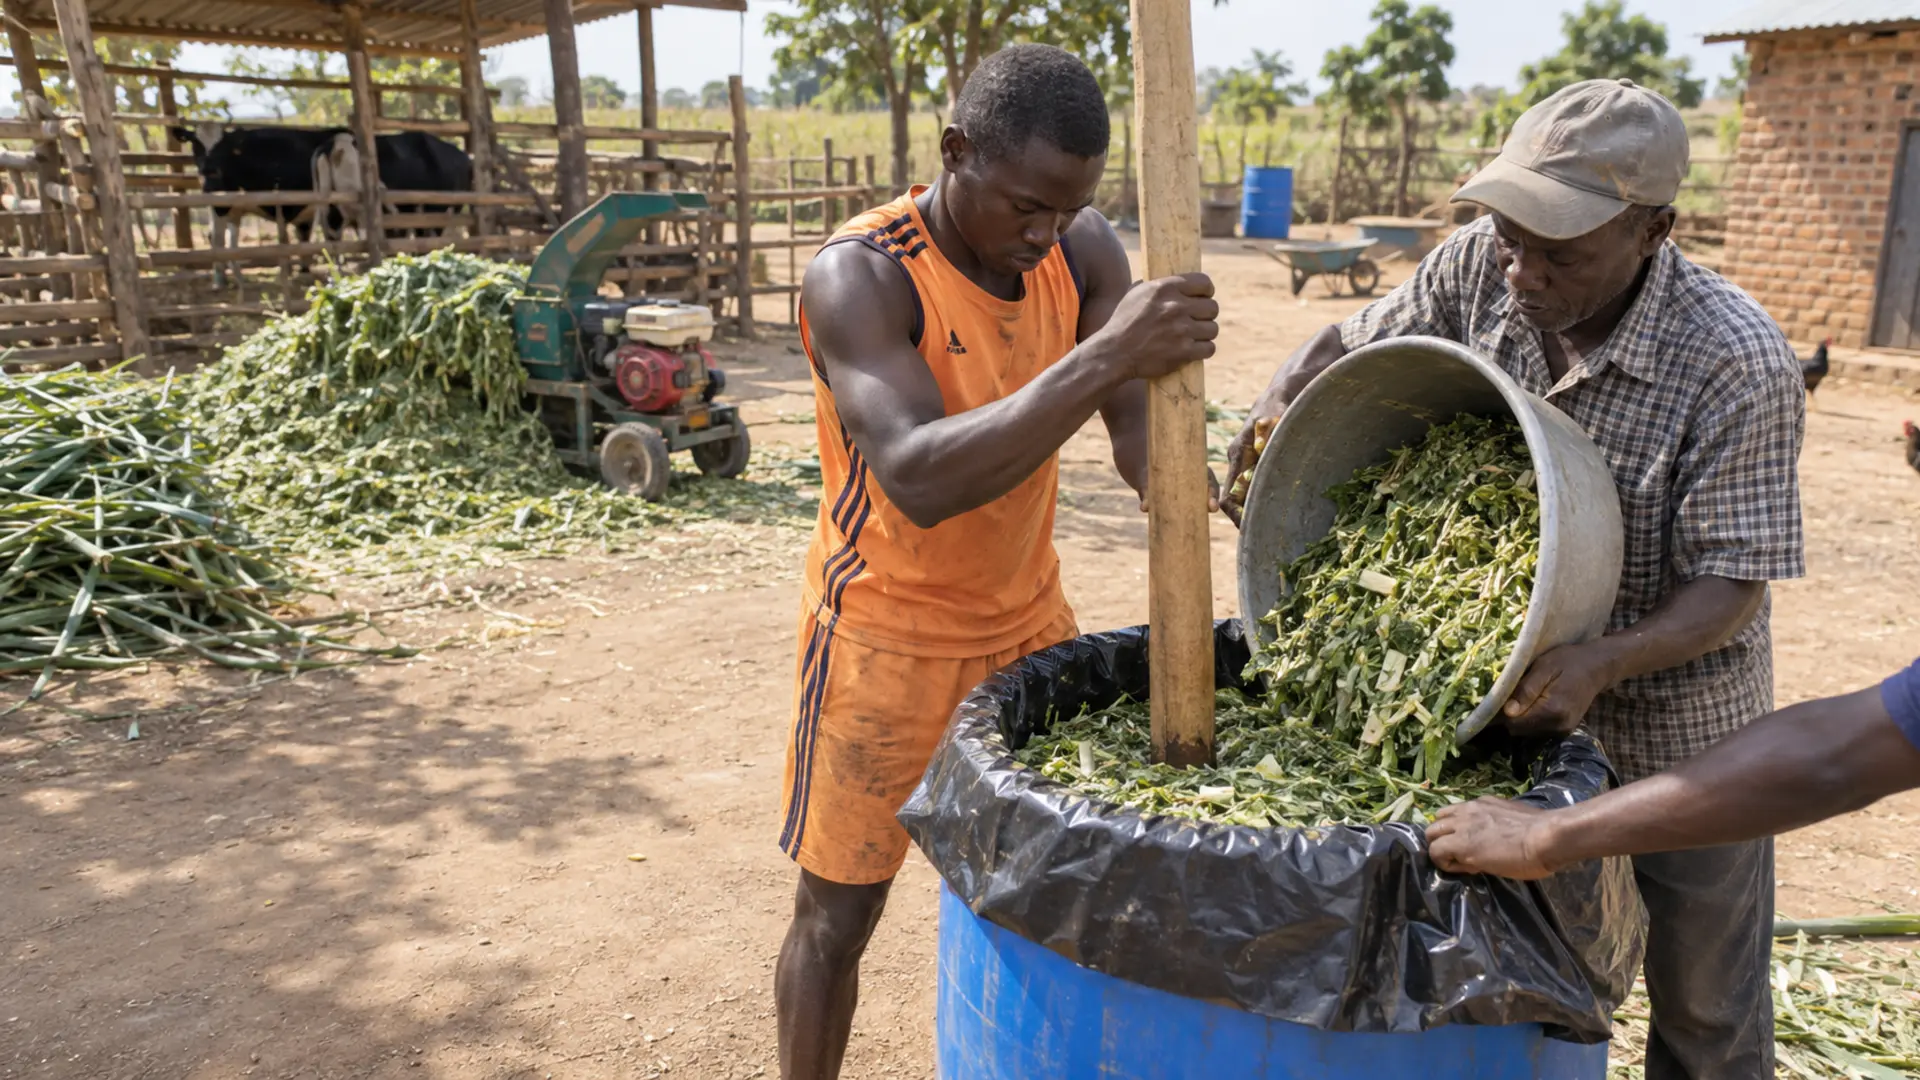
The drum. Ugandan press guidance describes plastic drums ranging from about 30 to 220 litres. A drum is the most forgiving format for a beginner because it is rigid, it can be compacted hard with a pole, and it can be moved. Line it with heavy polythene so the seal is in the liner rather than in the drum lid.
The bag. Ugandan guidance describes polypropylene sugar bags, which take about 50 kilogrammes or slightly more, and older guidance describes cut green mass stored in large sacks made from polythene, with the material pressed to remove the air. A woven sack is not airtight on its own; the airtight element must be a polythene liner inside it, and the woven sack is there to protect the liner from puncture.
The tube. Kenyan extension guidance describes a polytube for silage making as a seamless open-ended bag of about 1,000 micron gauge, between 2 and 2.5 metres long, holding between 350 and 500 kilogrammes, stored away from direct sunlight with weights placed on top. That is a bigger unit and suits a farmer with more animals or more surplus.
A fourth method worth knowing, correctly labelled. A Food and Agriculture Organization poster describes a small bag technique developed in northern Pakistan and Nepal in which about 5 kilogrammes of chopped green fodder is carefully packed into a shopping bag so as to avoid making any holes, the bag gently but firmly squeezed by hand to expel air, then while compressed the neck twisted, turned over and tied with twine, with triple bagging so that seams which might be expected to leak air are doubly protected. That is not East African practice and this article does not present it as such, but the triple-bagging idea travels well.
Silage Without a Pit: Drum, Bag and Tube Silage for Small Herds
Annotated step diagram of the drum and bag silage procedure from cutting and wilting through chopping, filling in layers, compacting, sealing and storing
Filling, compacting and sealing
Fill in layers. Put in a layer roughly the depth of your forearm, compact it, then add the next. Filling the container and then compacting once leaves air in the lower layers where you cannot reach it.
Compact hard. In a drum, a smooth pole and body weight. In a bag, knees and hands, or standing on it if the liner will take it. Kenyan extension guidance for a heap describes compaction by running a tractor or by rolling a 250-litre drum filled with water, which is the same principle scaled up: weight, applied repeatedly.
Exclude the air at the top. In a lined drum, twist and tie the liner as tightly as you can before putting the lid on, then weight it. In a bag, expel the air by pressing the whole bag down before tying, twist the neck, fold it over and tie it. Kenyan guidance for a heap describes sealing with polythene sheeting of about 1,000 gauge thickness and placing weights on top such as a layer of soil about 5 centimetres thick.
Then check it again. Ugandan press guidance is explicit that farmers should regularly check to ensure that holes are patched. Material settles in the first days, which can pull the seal or reveal a puncture. Look at every container two or three days after filling, and again a week later. A single hole will spoil a whole drum.
Store it out of the sun and away from rodents. Kenyan guidance recommends storing polytubes away from direct sunlight with weights on top, and identifies rodent damage as a specific limitation of the format. Ugandan guidance recommends storing in a cool area. Heat accelerates spoilage where any air is present, sunlight degrades the polythene, and a rat hole is an air leak.
How long
Ugandan press guidance describes the silage having a light colour and a sweet fermented aroma after three months.
Three weeks is often enough for the fermentation itself to complete in a well-made small container, but there is no advantage in opening early and a real risk in it. Plan to open when you need the feed, and if you can, leave the first batch you ever make for longer than you think necessary, because you will learn more from a batch that had every chance than from one you disturbed.
Opening day: the quality card
This is the check that decides whether the batch is feed. Extension guidance from Egerton University, published in Kenyan farm media, gives the descriptions.
Silage Without a Pit: Drum, Bag and Tube Silage for Small Herds
Opening day quality assessment card scoring smell, colour and texture, with a separate pH band strip shown as an optional indication
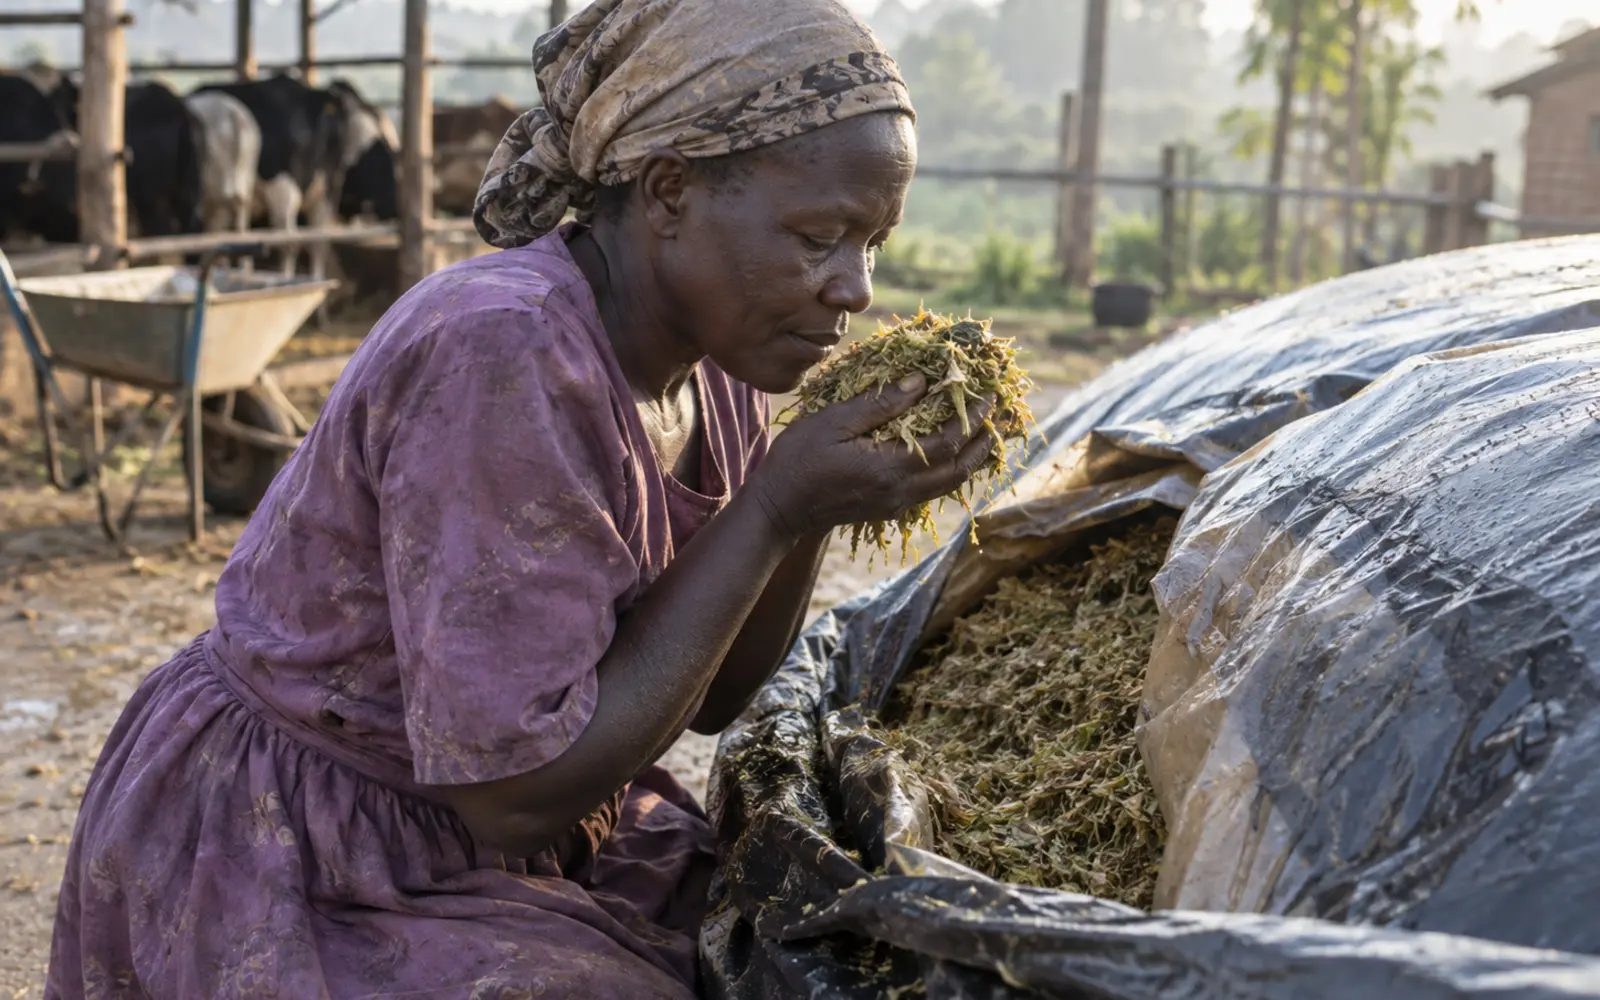
Smell. The aroma desired from silage is mild and pleasantly acidic. A strong, pungent, offensive smell is the failure signal. Ammonia means protein has broken down; a sharp rancid smell means butyric fermentation.
Colour. Light green to green brown or golden is described as normal. Dark brown or black indicates overheating; that material has lost much of its feeding value even where it is not toxic.
Texture. A slimy soft texture indicates mould. Very dry or brittle material indicates overheating.
pH as an indication. The same guidance gives bands: 3.5 to 4.2 indicates excellent, 4.2 to 4.5 good, 4.5 to 5.0 fair, and above 5.0 poor. Universal indicator paper will give you a rough reading.
Two cautions about pH, both important.
First, there is a second and different framework in the literature which links the target pH to the dry matter content: trade guidance reports that corn and grass silages at 25 per cent dry matter need a pH of approximately 4.25 to inhibit clostridia, while at 35 per cent dry matter roughly 4.60 suffices, with lucerne needing a minimum of about 4.40 at 25 per cent dry matter and about 5.0 at 35 per cent. That is a different question, about what acidity is needed to keep clostridia out at a given moisture, and it should not be merged with the quality bands above.
Second, a figure you may encounter. A dairy training module describes a spoiled feed-out condition in which acetic bacteria, yeasts and moulds are present and the pH is between 6 and 9. That is a description of failure, not a target. If your reading is anywhere near that, the batch is spoiled.
And do not taste it. The Kenyan guidance discourages tasting silage as an assessment method, and it is right to.
Feed-out
Once air reaches the material, the clock starts. The aerobic phase described at the start of this article begins immediately.
For a face, dairy training guidance recommends maintaining a feeding speed of 1.5 to 2 metres per week and removing silage from all corners of the open face every day while keeping the face straight and tightly covered.
For a small container the principle translates simply: size the container to what your animals will finish quickly. A drum opened and fed out over three days is better managed than a tube opened and fed over three weeks. Take from the whole surface rather than digging a hole, re-cover between feeds, and do not leave an opened container standing in the sun.
Mould, and where to be conservative
Be conservative here. This is the one part of the article where the cautious answer is the correct one even at the cost of feed.
Extension guidance on moulds and mycotoxins states that spoilage should not be fed and that feed troughs should be cleaned regularly, and notes that Penicillium moulds are acid tolerant and may grow if any air is present. It reports a German survey in which moulds were found in 206 of 233 grass or maize silage samples, with a specific mycotoxin present in 32 per cent of samples.
A separate advisory from Scotland links listeria risk to poorly fermented silage: high dry matter silage tends to a high pH above 4.5 due to reduced fermentation, the bacteria multiply quickly in silage where air is present, soil contamination raises the risk if the sward was cut low, and the advice is to discard and not feed silage that is visibly mouldy.
Two practical rules follow. Do not cut the crop so low that you shovel soil into the container. And when you find mould, take it out and throw it away rather than mixing it through. The mycotoxin question is covered in more detail in our guide to feed toxins.
Sweet potato vines, a Ugandan case worth knowing
Sweet potato vines are a real forage resource on many Ugandan farms and there is documented work on ensiling them.
Research reported by CGIAR found that milk yields increased substantially with sweet potato vine silage supplementation, by between 1.5 and 1.7 kilogrammes per cow per day, in work tested at four supplementation levels and located in Uganda, specifically in the districts of Kamuli and Masaka.
A separate trial in Kenya compared a basal diet of Napier grass plus sweet potato vine silage and wheat bran against a commercial concentrate, and reported milk yields of 6.2 litres per day against 7.5 in late lactation and 14.2 against 16.0 in early lactation, with the lower intake attributed to the high neutral detergent fibre content.
Read those two together honestly. The Ugandan work shows a real gain from supplementing with vine silage. The Kenyan work shows vine silage giving somewhat less milk than a bought concentrate while costing less. Neither says vines are a complete answer, and both are worth knowing before you spend a season on it.
Common mistakes and failure points
Filling the container and then compacting once. Chopping too long because the chaff cutter is elsewhere. Ensiling material that runs water when squeezed. Ensiling material so dry it will not pack. Using a woven sack with no polythene liner. Sealing once and never checking for holes after the contents settle. Storing containers in the sun. Cutting so low that soil goes in with the crop. Opening a container too big for the animals to finish. Digging a hole in the face instead of taking from the whole surface. Mixing mouldy material through good material to make it go further. And tasting silage to judge it.
Safety and when to get help
Do not feed visibly mouldy silage, and do not feed silage with an ammonia or rancid butyric smell, whatever it looks like.
Be particularly conservative with pregnant animals. The listeria advisory cited above singles out poorly fermented, soil-contaminated silage as the risk material, and the consequences in a pregnant animal are serious.
Call a veterinarian if animals go off feed, scour, show neurological signs such as circling or a drooping ear or eyelid, or abort after a change of feed. Stop feeding the suspect material first and keep a sample of it.
And treat a whole batch that has failed as information rather than as bad luck. A batch that smells of butyric acid was too wet or not compacted. A batch that is dark brown and brittle got hot, which means air. A batch that is mouldy at the top had a leaking seal. Each of those points at a specific step to change.
A practical action plan
Before the rains end. Decide the container format and get the polythene. Liner quality is the one input worth being fussy about.
Your first batch. Make one drum, not ten. Cut at the stage described for your crop, do the squeeze test and write down what you saw, chop short, fill and compact in layers, seal, and write the date on the drum with a marker.
Two days later, and again a week later. Check for holes and patch them.
On opening day. Work through the quality card before any animal is offered any of it. Write down what you found next to what you wrote at filling.
Then scale. One batch made properly and assessed honestly tells you what to change. Ten batches made at once, all with the same fault, tell you nothing except that you have lost ten batches.
Conclusion
Silage is not a large-farm technology that has been miniaturised. It is a fermentation, and the fermentation works in a drum exactly as it works in a bunker, provided the moisture is right and the air is out.
The farmers who succeed at it are not the ones with the best containers. They are the ones who compact in layers, check the seal twice, and are willing to throw away a bad batch rather than feed it.
Author: Falcon Foundation Ltd Editorial Team
The Falcon Foundation Ltd Editorial Team produces evidence-based agricultural guidance for Ugandan farmers, drawing on published research and institutional sources and translating them into practical decision support. Where evidence is unavailable or contested, we say so rather than filling the gap.