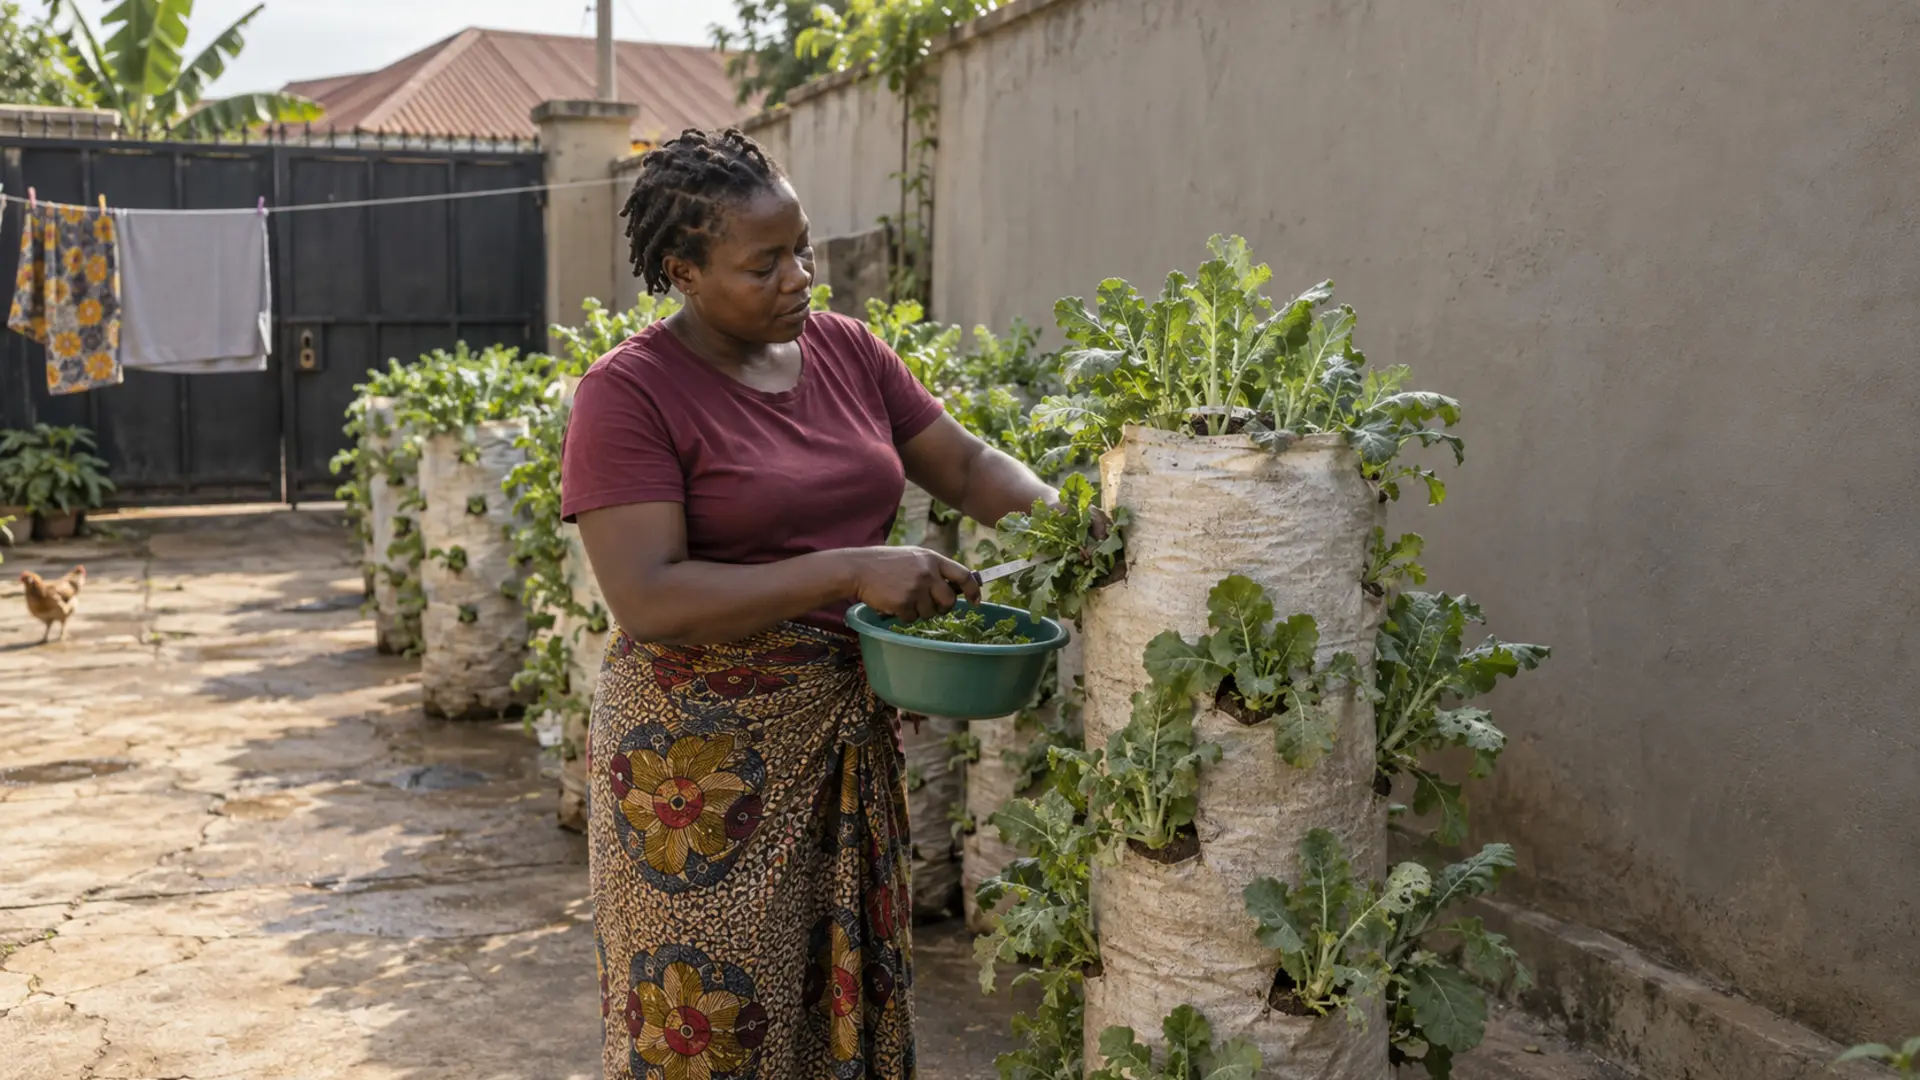
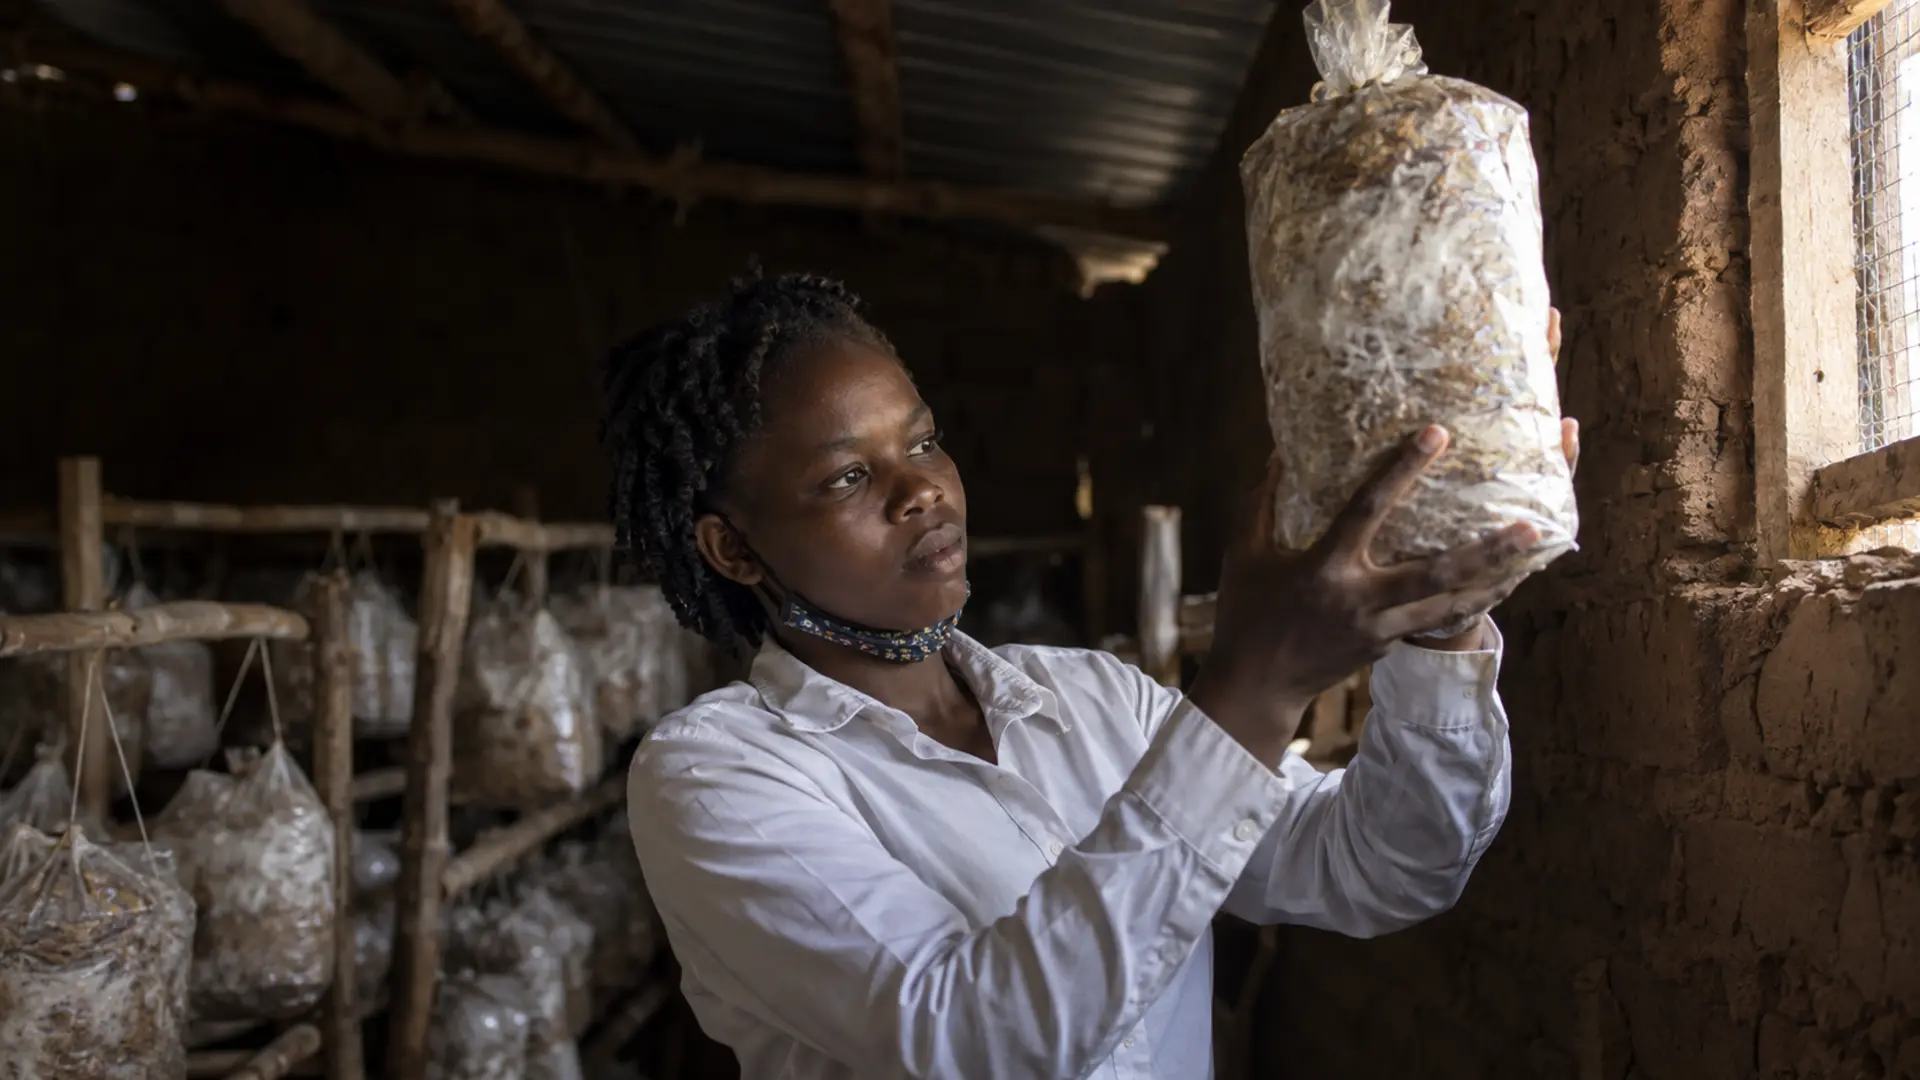
Mushroom growing gets recommended to Ugandan households for good reasons. It needs shade and humidity rather than land. It turns residues that are otherwise burned into a crop. It fits into a shed, a spare room or a lean-to. And it is one of the few enterprises where a person with no field can still produce food.
What is usually left out of the recommendation is that most first attempts fail, that they fail in a predictable place, and that the place is the substrate treatment step.
This guide is a procedure, not an encouragement. It gives the full production flow with a check at every stage, states which published parameters agree and which do not, and is explicit about where the Ugandan evidence is thin.
Two things it does not do. It gives no income projections, because we cannot verify them. And it says nothing whatsoever that could be read as guidance for identifying edible mushrooms in the wild. This article is about cultivating a known species from purchased spawn, and wild collection is a safety matter entirely outside its scope.
Why this is a live enterprise in Uganda
The institutional history is real and worth knowing, because it tells you where to look for help.
A project running from around 2014 to 2016 linked the Uganda Industrial Research Institute, the Department of Botany at Makerere University and the Mushroom Training and Resource Centre with Chinese mushroom research academies, with the stated goal of securing a supply of stable, reliable, high-quality mushroom spawn and registered spawn producers, and of establishing a germplasm bank to conserve indigenous mushroom resources. Reporting on that project records that a standard for commercial mushroom spawn production was developed by the Uganda National Bureau of Standards, and that a training centre provided extension services to subsistence mushroom farmers in four districts. The Uganda Industrial Research Institute today lists mushroom cultivation and processing among its programmes, focusing on oyster and Ganoderma mushrooms, and describes mushroom farming as utilising agricultural waste as a substrate.
The constraint is equally documented. A 2018 study of oyster mushroom growers in the Kampala metropolitan area identified poor quality mushroom spawn supplied to farmers by breeders as a leading production constraint, alongside scarcity of cotton during some seasons.
Read those two paragraphs together and the practical message is clear. Spawn quality is the input most likely to let you down, a national standard for it exists, and you should ask your supplier about it.
What this guide helps you decide
Which residue to use, given what is actually available near you. How to treat that substrate so the fungus you want wins and the moulds you do not want lose. How to recognise, at each stage, whether the batch is still on track. What the growing room has to provide. And when to stop and start again rather than nursing a batch that has already failed.
The short answer
Choose a residue with evidence behind it. Chop it, wet it, and heat it to a target you have chosen from a named source and can actually reach. Drain it and cool it to hand temperature before the spawn goes anywhere near it. Spawn it clean, incubate it warm and dark, and look at every bag every few days. Open the bags for fruiting only when they are fully and evenly white. Then hold humidity high and keep fresh air moving.
Almost everything that goes wrong is a failure of one of three things: heat that never reached the target, substrate that was still hot or still soaking when spawned, or a room that has no air movement.
Which residue, and what the evidence shows
Oyster mushrooms are Pleurotus species. A 2020 review identifies Pleurotus ostreatus, Pleurotus sajor-caju and Pleurotus florida among the most popular cultivated species and notes that Pleurotus tuber-regium has been widely cultivated and consumed by African peoples. The Food and Agriculture Organization’s own smallholder mushroom booklet features Pleurotus ostreatus and draws its African case studies, from Malawi and Zimbabwe, on Pleurotus sajor-caju.
On substrates, the published trials give a clear ranking with one consistent loser. Note that biological efficiency, the measure used in these studies, is fresh mushroom weight divided by dry substrate weight expressed as a percentage, which is why figures above 100 per cent are normal rather than errors.
Cotton waste and cottonseed performs best where it has been tested. An Ethiopian trial at Wondo Genet found cotton seed giving 74.17 per cent biological efficiency, the highest of the substrates compared, against wheat straw at 35.88, paper waste at 34.22 and sawdust at 9.73. A separate Ethiopian trial at Ambo University found a mix of 450 grammes of corn stover with 50 grammes of cottonseed waste reaching 218.1 per cent, the highest of ten treatments.
Cereal straws perform well. A University of Nairobi study of locally available substrates in Kenya found bean straw at 106 per cent, rice straw at 92, finger millet straw at 85 and wheat straw at 77.
Maize cobs and stover are the best-documented option from Uganda itself. A study in northern Uganda found a maize cob and maize straw combination giving the highest yield of its treatments at 151.5 grammes per bag and 15.15 per cent biological efficiency, while a banana fibre and banana leaf treatment in the same trial failed to yield at all. That Ugandan study is a preprint that has not completed peer review, and its efficiency figures are much lower than the Ethiopian and Kenyan trials, so treat it as an indication of what works locally rather than as a yield you should expect.
Sawdust is consistently the weakest performer across every trial we could verify: 9.73 per cent in Ethiopia, yields 60 per cent below the control in Kenya, and the lowest of its set in a further Ethiopian study.
Sugarcane bagasse reached 87.39 per cent combined with wheat bran in an Indian trial. We found no African trial of bagasse that we could verify.
The practical conclusion. Cotton waste is the strongest substrate in the evidence and is documented as genuinely used in Uganda, but its supply is seasonally unreliable. Maize residues are the most widely available and are the option with a Ugandan trial behind them. Sawdust on its own is a poor choice regardless of how freely available it is.
The step that decides the batch: heat treatment
Here the sources genuinely disagree, and pretending otherwise would be the most damaging thing this article could do.
Published figures we were able to verify range from 60 degrees Celsius held for 30 minutes, in a peer-reviewed study of contamination control, through 60 to 77 degrees for one to two hours in practitioner guidance, to 80 degrees for two hours in Indian institutional guidance, to a full three-hour boil at 100 degrees in a South Sudanese field study, which is really a light sterilisation rather than a pasteurisation.
Do not average these. Choose one procedure from one named source and hold to it, then record what you actually did on the batch sheet.
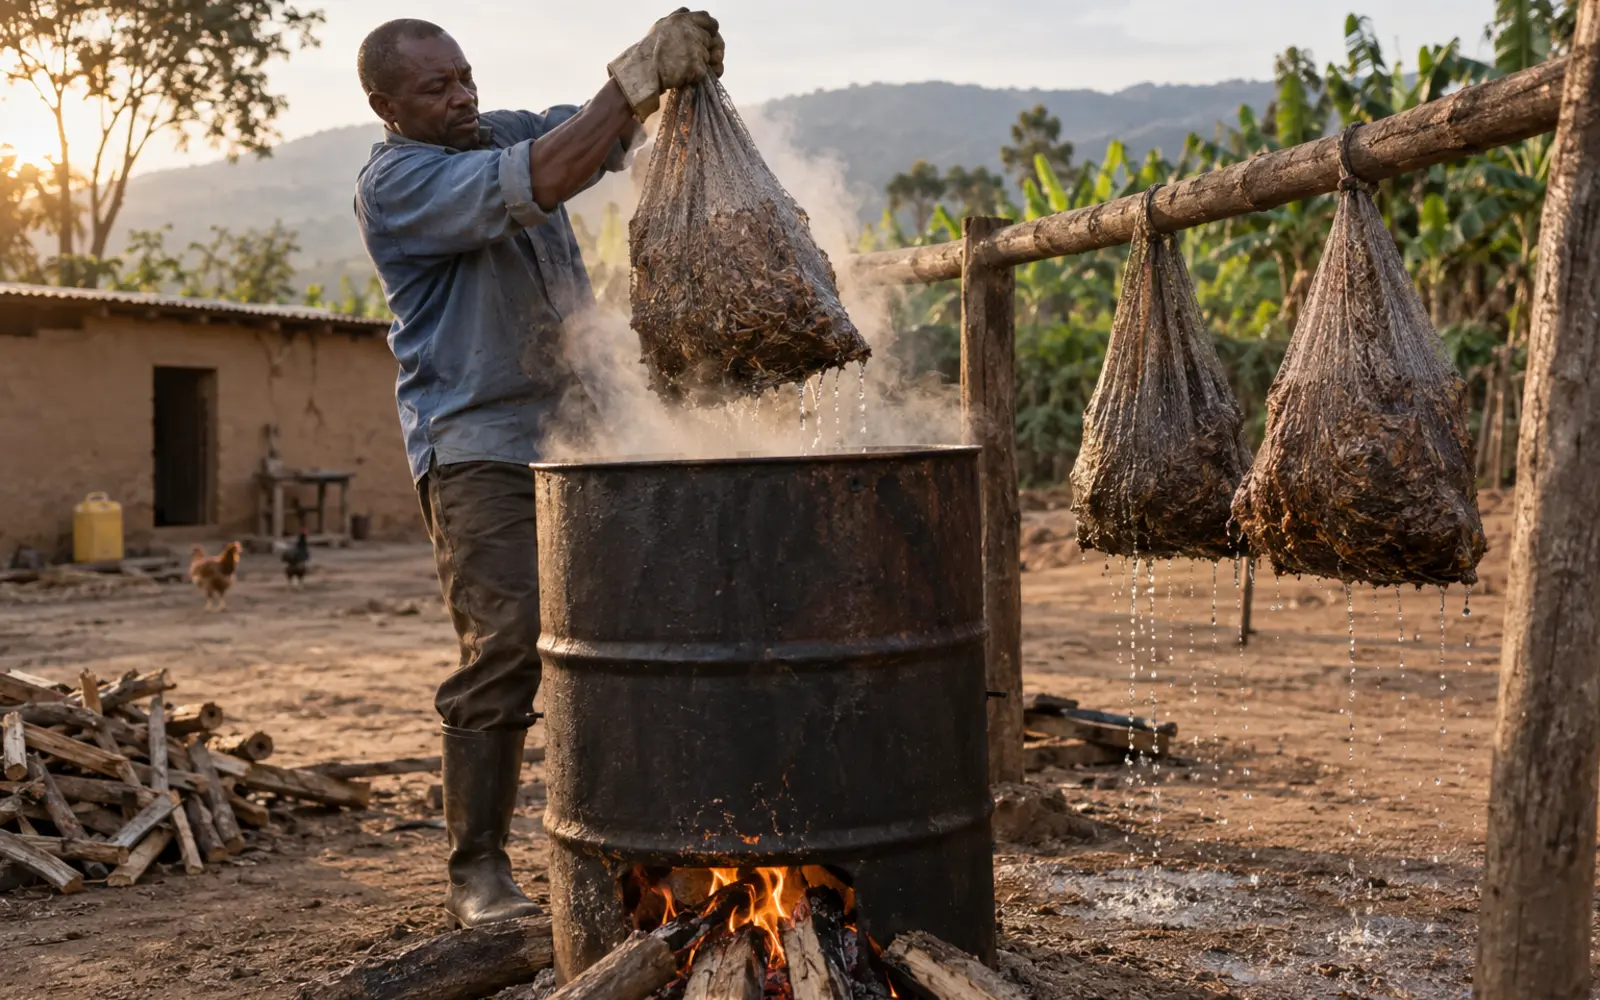
For a smallholder working with a drum over a wood fire, the Indian Institute of Horticultural Research guidance is the most usable because it is institutional, specific and achievable: hot water at 80 degrees Celsius for two hours, or steam pasteurisation at 80 degrees for two hours. The same guidance distinguishes this clearly from sterilisation, which it specifies as autoclaving at 121 degrees at 15 pounds of pressure for 15 minutes. That distinction matters practically: sterilisation needs pressure equipment a smallholder will not have, and full sterilisation of a straw substrate also removes the competitive microbial community that helps the mushroom mycelium hold its ground.
There is also a documented alkaline route. A peer-reviewed study of Trichoderma control found that immersion in hot water at 60 degrees for 30 minutes and immersion in alkalinised water for 36 hours were the treatments that best reduced contamination. Practitioner guidance describes a hydrated lime soak for 16 to 18 hours. We found conflicting lime concentrations even within a single practitioner document, differing by roughly fivefold, so this article does not give a lime concentration. If you want to use the alkaline route, get the concentration from a training provider who can show you their source.
Two things are not in dispute. Whatever target you choose, the whole mass has to reach it, not just the water around it. And a thermometer is not optional: a batch treated to an unknown temperature is a batch you cannot learn from.
Moisture, and the squeeze test
The Indian institutional guidance specifies filling bags with pasteurised substrate at 65 per cent moisture. The Ugandan study targeted 60 to 70 per cent and achieved 60 to 65 after cooking.
You will not measure that at home. The field test, from a mushroom growers’ association guide, is direct: drain the substrate well, and a handful squeezed should produce no more than a few drops of water. Substrate that runs is too wet and will go sour; substrate that produces nothing and feels springy is too dry and will colonise slowly or not at all.
Cooling, which is where careful people still lose batches
Spawn is living mycelium. Substrate that is still hot will kill it, and there is no way to tell afterwards whether the spawn was bad or the substrate was hot.
Drain the substrate on a rack or a clean surface, in a place where dust and flies are not settling on it, and let it come down to the temperature of your own hand before the spawn goes near it. The South Sudanese study describes slow cooling over 24 hours after boiling. That is longer than most people allow.
Spawning
Published spawn rates vary and all of them are workable. An Indian trial testing rates from 0.5 to 8 per cent found 2 to 4 per cent optimum. The Indian Institute of Horticultural Research specifies 5 per cent of wet substrate. A global review cites 2 per cent, given as 2 grammes per 100 grammes of wet substrate.
Higher rates colonise faster, which reduces the window in which a contaminant can establish, at the cost of more spawn. If you are new, and particularly if your heat treatment is not yet reliable, the higher end of the range buys you a margin.
Work clean. Wash and dry your hands and forearms, work on a surface you have wiped down, keep the spawn container closed except when you are taking from it, and do the spawning somewhere other than the room where finished bags are fruiting.
Incubation
The Indian institutional guidance gives spawn running in a dark room at 24 to 28 degrees Celsius for 18 to 30 days depending on variety. The global review gives 12 to 26 days at around 24 degrees.
What you are looking for is white mycelium advancing evenly through the bag from each spawn point until the whole bag is uniformly white. Check every bag every two or three days, in the light, without opening it.
Oyster Mushrooms on Farm Waste: A Small-Space Enterprise That Uses What You Already Have
Identification card showing healthy mycelium alongside green mould, black bread mould and bacterial wet spot, with what each looks like and what to do
Three things you may see instead.
Green mould, Trichoderma, is the commonest and the most serious. Extension guidance describes dense white mycelial growth followed by green sporulation, and warns that apparently normal spawn runs can give way to large patches of green sporulation. Once the green appears the bag is finished.
Black bread mould, Rhizopus, is described as dense mycelium that is white at first, becoming grey, then taking on a black appearance, with tiny black dots at the ends of its strands.
Bacterial wet spot presents as a dull grey slime with a sour smell, appearing excessively wet or mucus-like.
The action in all three cases is the same and it is not negotiable. Take the bag out of the room without opening it, and open it, if at all, well away from the growing area and downwind. A contaminated bag opened inside the room seeds every other bag in it.
Note the source quality here honestly: the green mould description comes from a university extension service, while the black mould and wet spot descriptions come from a commercial supplier’s guidance. They are consistent with what growers report, but they are not equally authoritative.
Fruiting
The Indian institutional guidance gives pinhead initiation 2 to 7 days after opening the bag, at 13 to 30 degrees Celsius depending on variety, with humidity of 80 to 85 per cent, light, and ventilation. India’s National Horticulture Board gives humid conditions of 85 to 90 per cent and states that carbon dioxide concentration during cropping should be less than 600 parts per million, or 0.6 per cent. A review of Pleurotus cultivation gives a fruiting chamber at 15 to 23 degrees, 85 to 95 per cent relative humidity and a 12-hour photoperiod.
Take the humidity range as 80 to 90 per cent and the temperature as a range you will need to check against the variety your spawn supplier gives you.
On carbon dioxide, a caution. Growers commonly say that insufficient fresh air produces long thin stems with small caps. The peer-reviewed studies we could verify tested carbon dioxide at 1 per cent, which is around sixteen times the 600 parts per million ceiling cited above, and found the opposite at that extreme: stipes much shorter and thinner, trumpet-shaped or cauliflower-shaped deformation of the cap, incomplete development, and no spore shedding. This article therefore states what is well supported, which is that oyster mushrooms need genuine fresh air exchange during fruiting and that deformed fruit bodies are a documented consequence of high carbon dioxide, without repeating the specific long-stem claim as though it were a research finding.
Practically: the room needs a way for air to move through it, not merely a way for humidity to sit in it. A high vent and a low vent on opposite walls will do more than a fan pointed at the bags, which dries them.
Light. Oyster mushrooms need light to fruit properly, but not sun. Enough to read by, from an indirect source, is the working standard, and the published guidance specifies light as a requirement alongside ventilation.
Harvest and hygiene
India’s National Horticulture Board specifies harvesting before spore release, by twisting so that stubs are not left behind. The Indian Institute of Horticultural Research puts harvest at 2 to 4 days after pinhead initiation depending on variety. The Food and Agriculture Organization’s smallholder booklet describes harvesting with sterilised knives and states that it is essential to maintain hygienic conditions to protect the crop from contamination.
Leaving stubs matters: a stub left in the substrate is a rotting entry point for the next flush.
A health point that is usually omitted. Working in a room full of sporulating mushrooms is an occupational exposure. A study of mushroom growers working with Pleurotus floridae found precipitin antibodies against the extract in 73.9 per cent of affected workers, with cough in 100 per cent, sputum production in 82.6 per cent and breathlessness in 43.5 per cent. A separate occupational health investigation of a mushroom farm outbreak recommended that workers be counselled about the risks and symptoms involved and that airborne antigens be kept as low as possible.
The practical consequences are simple and worth taking seriously. Harvest before spore release rather than after. Ventilate the room. Wear a face covering when you are working among mature fruiting bodies. And if anyone working in the room develops a persistent cough, shortness of breath or fever, they should see a clinician and mention the mushroom exposure specifically.
Oyster Mushrooms on Farm Waste: A Small-Space Enterprise That Uses What You Already Have
Production flow diagram from substrate preparation through pasteurisation, cooling, spawning, incubation, fruiting and harvest, with a contamination checkpoint marked at each stage
The batch record
This is the part that turns a hobby into an enterprise, and it costs nothing.
Oyster Mushrooms on Farm Waste: A Small-Space Enterprise That Uses What You Already Have
Blank batch record sheet with columns for batch number, substrate, treatment method and temperature, cooling time, spawn source and rate, colonisation date, first flush date and contamination notes
Record, for every batch: the substrate and where it came from; the treatment method, the temperature actually reached and how long you held it; how long the substrate took to cool and to what; the spawn source and rate; the date the bags were fully colonised; the date of the first flush; how many bags were lost and to what; and any note about the weather or the room.
After five batches that sheet will tell you which of your own steps is failing. No published figure can do that for you.
Common mistakes and failure points
Heating to an unknown temperature. Spawning substrate that is still warm. Spawning substrate that is still dripping. Using sawdust alone because it is free. Buying spawn without asking about its production standard or its age. Opening a contaminated bag inside the growing room. Running a fruiting room with humidity but no air exchange. Pointing a fan at the bags to move air, which dries the developing pins. Harvesting after the caps have flattened and released spores. Leaving stubs in the substrate. And working among sporulating mushrooms without ventilation or a face covering.
Warning signs and when to get help
Stop and restart the batch if: green sporulation appears anywhere; a bag smells sour; more than a few bags in a batch are showing the same contaminant, which points at your process rather than at bad luck.
Ask your spawn supplier for their production standard, and ask when the spawn was made, if colonisation is slow across a whole batch or if bags fail to colonise at all despite a good heat treatment.
See a clinician if anyone working in the growing room develops a persistent cough, breathlessness or fever, and say that they work with mushrooms.
Contact the Uganda Industrial Research Institute, Makerere University’s Department of Botany or a recognised training centre for spawn sourcing and training rather than relying on an unverified supplier, given the documented history of spawn quality problems.
A practical action plan
Before you build anything. Find your spawn source and confirm it can supply you reliably. Ask what species and strain, when it was produced, and what standard it is produced to. There is no point preparing substrate for spawn you cannot get.
Your first batch. Run ten bags, not a hundred. Use maize residues if that is what you have. Choose one heat treatment protocol from one named source, buy a thermometer, and record what you actually achieved.
Your second batch. Change exactly one thing from the first, and record it. If the first batch failed, change the step the record sheet points to.
Only then. Scale up, and only to the number of bags your growing room can actually hold at the humidity and air exchange described above.
Conclusion
Mushroom growing is one of the few genuinely small-space enterprises available to a Ugandan household, and the biology is on your side: a fungus that eats crop residues and fruits in a shed is a remarkable thing to have access to.
But it is a procedure, and procedures reward records and punish approximation. The growers who succeed are not the ones with the best shed. They are the ones who know what temperature their substrate actually reached.
Author: Falcon Foundation Ltd Editorial Team
The Falcon Foundation Ltd Editorial Team produces evidence-based agricultural guidance for Ugandan farmers, drawing on published research and institutional sources and translating them into practical decision support. Where evidence is unavailable or contested, we say so rather than filling the gap.