
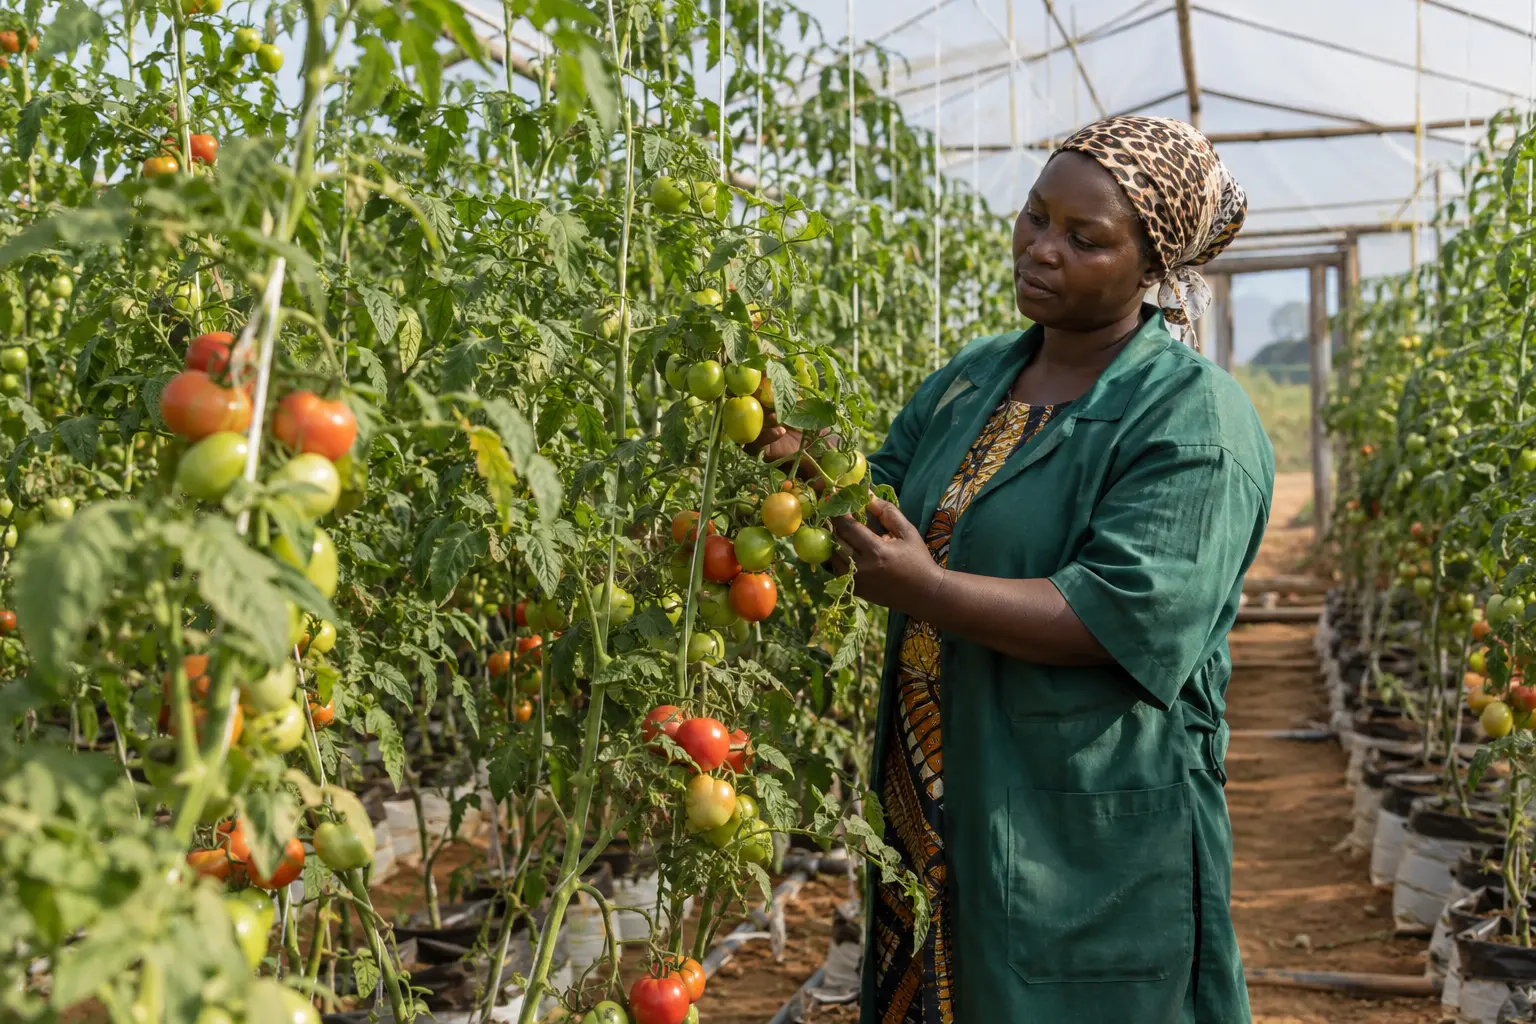
A greenhouse tomato crop is not a more intensive version of a field crop. It is a different activity, and the difference is that almost everything that determines the outcome is a decision taken on a particular week rather than an input applied at a particular rate.
Suckers removed in week five cost nothing. The same suckers in week eight are branches, and removing them opens wounds on a crop that is now standing in warm humid air. Leaves taken off progressively keep the plant working. The same leaves taken off in one session stress it. Pollination attended to daily during flowering sets fruit. Pollination attended to when you notice the trusses are empty sets nothing, because that truss is finished.
This guide runs the cycle in order and attaches the decision to each stage. It also does something less common in greenhouse writing, which is to tell you where the numbers come from.
An honest statement about the evidence, before any numbers
We searched for Ugandan or East African research on greenhouse tomato specifically: densities, training regimes, temperature responses, yields under cover. We did not find it.
What exists for Uganda is open-field work. A study by researchers at the national crops resources research institute recorded the spacings Ugandan tomato farmers actually use, found that of those used only one provided optimum yield, and reported average yields well below the potential yield it identified, attributing the gap to a high pest and disease burden, high input costs, high seed costs and seasonal variability.
That is useful context and it is not greenhouse data.
So every technical figure in this guide comes from temperate or subtropical extension and research, and each is labelled where it appears. Treat them as the best available starting points, not as measurements of your house. The single highest-value thing you can do this season is record what your own greenhouse actually does, because nobody has published it.
What this guide covers
Transplant to termination, with the decisions in between. It assumes the seedlings already exist; raising them is a separate discipline covered in raising your own seedlings. It assumes the house exists and is sited sensibly, covered in greenhouse siting, orientation and layout, and that the decision to build one at all was taken deliberately, which is the subject of the greenhouse or open field decision.
It does not cover soil-borne disease strategy, which is choosing between solarisation, grafting and getting off the soil, nor fertigation chemistry. It names no pesticide, fungicide or nutrient product.
Greenhouse Tomato in Uganda: The Full Cycle from Transplant to Last Truss
A horizontal full-cycle timeline from transplant to termination, with each stage carrying the single decision the grower makes at that point rather than a list of tasks.
Stage one: transplant and spacing
Spacing is decided once and lived with for the whole crop, which makes it the most consequential decision in the cycle.
The published greenhouse guidance frames it as area per plant rather than as a grid. One United States extension source recommends spacing tomato plants so that each has 3.5 to 5 square feet of growing area, which it translates to about 16 inches within the row and 5 feet between rows.
The reason area per plant matters more than the grid is light. Controlled research at a Dutch university found that high planting density resulted in higher ground coverage and hence higher light interception, particularly early during cultivation, but that fruit quality was reduced at high density, with measured sweetness falling substantially at the highest density tested.
That is the trade in one sentence. More plants intercept more light early and give you more total fruit. They also shade each other later, and quality falls.
For a Ugandan house the practical guidance is: do not copy a density from a photograph of somebody else’s greenhouse. Set it from the light your house actually admits, which depends on cladding age, dust, orientation and season. A house with dusty three-year-old polythene in a cloudy month is a lower-light environment than the same house in its first season, and the density that worked then will not work now.
The Ugandan open-field study is worth one note here even though it is not greenhouse work: among the spacings farmers used, the study found only the widest provided optimum yield. Crowding is the commoner error in Uganda, not excessive spacing.
Stage two: training, and why it is weekly
Greenhouse tomato is grown as a single stem trained up a support. Everything the plant tries to do besides that has to be removed.
The extension guidance is consistent and blunt about frequency. One source instructs removing all suckers and all leaves below the first flower cluster, and checking at least twice a week during this period to catch the suckers when small. Another states that suckers should be removed as they form, at least once a week.
The reason for the frequency is not tidiness. A sucker removed at finger length breaks off cleanly and leaves a wound that closes almost immediately. A sucker left for three weeks is a stem, requires a knife, leaves an open wound in warm humid air, and has already spent the plant’s resources building something you are about to throw away.
The practical rule for a Ugandan house: training is a fixed weekly job with a day attached to it, not a task done when someone notices. In a hot humid house where growth is fast, twice weekly during the establishment and early flowering period is the published position and it is sound.
Stage three: pollination
This is the stage most new greenhouse growers do not know exists, and the one that silently loses the first trusses.
Tomato flowers need vibration to release pollen. In the open field wind does it. Inside a closed structure there is often not enough air movement, and the published explanation for why tomato needs specific attention is that tomato plants do not provide nectar, so they are not attractive to the generalist insects that visit other crops.
The published options are a managed bumblebee colony, described in one extension source as active for six to eight weeks, or mechanical vibration of the truss.
Here the evidence needs stating carefully because it points one way and the practical situation points another. A meta-analysis comparing pollination methods found bee pollination produced a large and statistically significant effect on fruit outcomes while mechanical vibration produced a smaller effect that was not statistically significant, and it reported that buzz pollination led to significantly higher marketable fruit quality than mechanical vibration in the studies it reviewed.
But those studies were conducted in temperate and subtropical countries, the analysis itself notes sparse coverage elsewhere, and the bee genus involved is temperate-adapted. We found no tropical, let alone Ugandan, comparison.
So the honest position for a Ugandan grower is: mechanical vibration is what is realistically available to you, the evidence says it is weaker than managed bees, and nobody has tested either under your conditions. Do it consistently, during the warm middle part of the day when pollen is shedding, on every open flower, every day that flowers are open. Consistency is the variable you control.
Stage four: truss and leaf management
Two separate jobs, often confused.
Fruit thinning. Published guidance for large-fruited types is to thin fruit once a week and to thin clusters of the larger slicing varieties to four to five fruits per cluster. The purpose is to size the remaining fruit and to stop the plant carrying more than it can fill.
De-leafing. The purpose is airflow and light to the ripening fruit, not tidiness. Guidance is to begin when the plant is knee to waist high and to maintain a substantial length of functioning leaf on the vine. The critical instruction is about pace: remove leaves gradually, a few each week, rather than too many at once, as each fruit cluster is harvested. One source gives the rationale directly, that removing the lower leaves allows for better air circulation for less disease pressure.
The rule that carries both: work from the bottom up, a little each week, and let the harvested truss set the pace. When you pick a truss, the leaves below it have finished their job.
Stripping a plant in one session because it looks untidy is the classic error. It removes the photosynthetic capacity that fills the fruit you have just exposed.
Stage five: the weekly crop walk
If you take one habit from this guide, take this one.
Greenhouse Tomato in Uganda: The Full Cycle from Transplant to Last Truss
A blank weekly crop walk record sheet with rows for plants inspected, trusses set, pest counts by type, disorder counts, and actions taken, with empty columns for successive weeks.
Published greenhouse scouting guidance frames it as a counting and recording exercise, stating that weekly summaries should be compiled and itemised for each greenhouse according to the pests detected, the counts, and any unusual circumstances found, and adding the line that matters most: without proper records, scouting will be ineffective.
The method that makes this work in a small house:
Mark a fixed set of plants spread across the house, not clustered near the door, and walk the same plants every week. Trends on the same plants mean something. Impressions of the whole house do not.
Count, do not assess. Number of trusses set. Number of plants with the symptom. Number of insects on the underside of the third leaf. A count from week six can be compared with a count from week twelve. “Quite a lot” cannot.
Look at leaf undersides. Almost everything that matters starts there and is invisible from above.
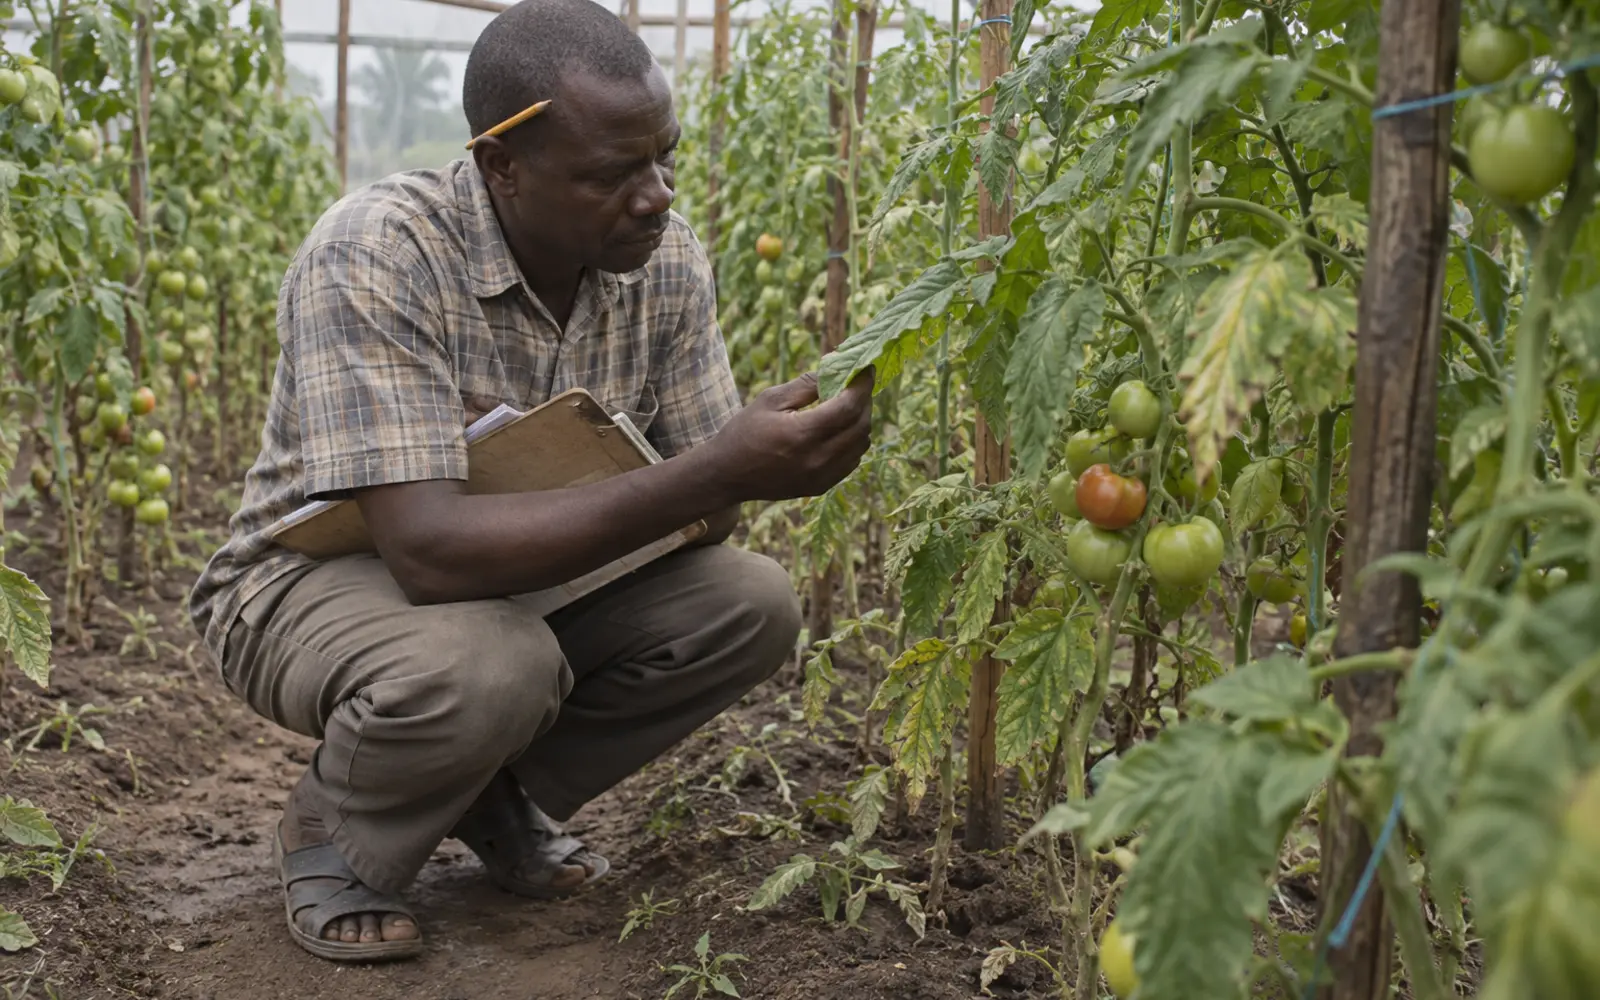
Write it in the house, not afterwards. The scouting framework and the threshold logic that turns counts into decisions are set out in integrated pest management scouting and thresholds.
Stage six: temperature, humidity and the limits of imported figures
Protected cultivation in Uganda is mostly a heat management problem rather than a heating problem, which inverts most of the literature.
The published figures, with their origins:
A United States extension source gives a favourable regime of roughly 27 to 29 degrees Celsius by day with a night minimum around 16 to 18, and advises pollinating when humidity is between 60 and 70 per cent, noting that elevated temperatures and high humidity decrease pollination.
Separate extension work on high temperature effects gives optimum ranges around 16 to 24 degrees at night and 16 to 32 by day, states that pollen germination is severely reduced above roughly 38 degrees, and reports that exposing plants to three-hour periods above approximately 40 degrees on two successive days may cause fruit set failure.
A United Kingdom horticultural body reports that high temperatures around 30 degrees will reduce fruit set in most tomato cultivars, and that a sustained 32 degree regime caused reduced pollen production leading to abscission of fruits.
Greenhouse Tomato in Uganda: The Full Cycle from Transplant to Last Truss
A panel setting the published favourable temperature range for greenhouse tomato against the published thresholds at which pollen and fruit set fail, with the source climate of each figure labelled.
Two things follow.
The favourable range and the failure thresholds come from different studies and should not be read as one continuous scale. What they agree on is the direction: fruit set is the first thing heat takes, and it takes it before the plant looks stressed.
None of it was measured in Uganda. A cheap maximum-minimum thermometer hung at truss height, read and written down daily, will tell you more about your own house than this entire section. Heat and humidity management under cover is dealt with separately in greenhouse heat and humidity, and the practical levers there are ventilation, shading and timing rather than anything you buy in a bottle.
Stage seven: the disorders that are not diseases
Four common problems are routinely sprayed at and none of them is an infection.
Greenhouse Tomato in Uganda: The Full Cycle from Transplant to Last Truss
A diagnostic card contrasting blossom end rot, radial and concentric cracking, uneven ripening and poor fruit set, each with the visible sign, the usual driver and the non-chemical management lever.
Blossom end rot. Published extension guidance attributes it to improper irrigation, saturated soils, soil compaction and low soil pH, noting that calcium availability decreases when soil pH starts trending below 6.0, and gives management as consistent irrigation and correcting pH. The practical reading: it is a calcium delivery problem, and delivery usually fails because water supply is erratic rather than because calcium is absent. Fix the irrigation rhythm first. Soil pH testing is covered in soil testing and fertility.
Cracking and splitting. Attributed in the published guidance to excessively high temperatures, with management given as shade cloth in the 30 to 50 per cent range and ventilation, and separately linked to over-irrigation where soil remained nearly saturated. Variety also matters: one extension trial recorded markedly different cracking severity between varieties grown side by side.
Uneven ripening. Generally a heat and light distribution problem.
Poor fruit set. Covered above. Heat, or pollination, or both.
None of these four calls for a product. All four call for a change in how the house is run.
Stage eight: topping and termination
A greenhouse tomato crop is ended deliberately, which surprises growers used to picking a field crop until it stops.
The published instruction is to remove the terminal bud at the overhead wire six weeks before the end of the crop cycle, with fruit continuing to develop and ripen along the main stem until the production cycle is finished.
The logic is straightforward. After topping, the plant stops investing in new growth and puts everything into the fruit already set. A crop that is never topped keeps setting trusses it does not have the season, the light or the plant capacity to fill, and the last trusses are small and late.
Decide the termination date first, then count back to the topping date. That is the calculation, and it needs to be made before you are in the last month.
The clear-out is part of the crop, not after it. Everything removed, the house swept, and the residues taken off site rather than heaped beside the door. The next crop’s pest pressure is being decided during this week.
What the record is actually for
Growers who keep a crop walk sheet for one season usually keep it forever, and the reason is worth stating because it is not the reason they started.
The sheet is not primarily an early warning system, although it does that. Its real value is that it converts a season into something comparable. At the end of the crop you can look at the week in which trusses stopped setting and read across to the temperature log for those days. You can see whether the pest count rose before or after the de-leafing pass. You can see whether the house that got the wider spacing produced more marketable fruit or simply more fruit.
None of those questions can be answered from memory, and all of them determine what you do differently next season. In a country with no published greenhouse tomato research, your own record is not a poor substitute for the literature. For your house, it is better than the literature, because it was measured under your cladding, at your altitude, in your season.
The cost is about ten minutes a week and one thermometer reading a day.
Common mistakes
Copying a plant density from a picture instead of setting it from your own light.
Training when someone notices rather than on a fixed weekly day.
Ignoring pollination until empty trusses appear. That truss is already lost.
Stripping leaves in one session.
Thinning nothing and wondering why fruit is small.
Walking the crop without counting, or counting without writing.
Assuming a favourable temperature figure from a temperate source describes your house.
Spraying a physiological disorder.
Never topping, and finishing the season with a tail of unfillable trusses.
Leaving the crop residue in or beside the house.
When to involve a professional
Contact an extension officer, a plant health inspector or a diagnostic laboratory rather than acting alone when:
- Plants wilt rapidly without prior yellowing, particularly in patches. This is the symptom pattern that needs identification before anything else happens, and the strategic options are covered in the companion article on soil-borne disease under cover.
- A symptom spreads along a row between one crop walk and the next.
- Leaf mottling, distortion or marked stunting appears that does not match a water or nutrition explanation.
- A pest appears in the house that you have not seen before.
- A disorder does not respond to the management change that the published guidance says drives it.
- Anyone offers you a product. Ask what it is registered for, who registered it, and what the pre-harvest interval is, because that interval governs what you can legally sell. The framework is in safe pesticide use, selection, mixing and application, and the residue requirements that apply to what leaves your gate are in food safety and residue requirements.
A practical action plan
Before transplanting. Fix the termination date. Count back six weeks to the topping date and write both on the wall. Decide the plant density from the light your house admits this season, not from last season or somebody else’s house.
Transplant week. Mark your fixed crop-walk plants, spread through the house. Hang a maximum-minimum thermometer at truss height.
Every week from establishment. Training and sucker removal on a fixed day, twice weekly while growth is fast. The crop walk on a fixed day, counting onto the sheet.
From first flowering. Vibrate every open flower, daily, during the warm middle of the day. This is not a weekly job.
From first truss set. Begin thinning weekly. Begin de-leafing from the bottom as trusses are harvested, a few leaves at a time.
Daily, all season. Read and write down the maximum and minimum temperature. By the end of the crop you will have the single most valuable dataset on your farm, and it will be the only record of what a Ugandan greenhouse actually does under your conditions.
At the topping date. Top, regardless of how the crop looks. That date was calculated for a reason.
At termination. Strip the house, remove residues from the site, and only then start planning the next crop.
Conclusion
The difference between a greenhouse tomato crop that works and one that disappoints is rarely a product and rarely a variety. It is whether the weekly jobs happened in the week they were due, and whether anybody wrote down what the house was doing.
Everything technical in this guide comes from somewhere else, because the Ugandan greenhouse literature does not exist yet. That is a gap worth knowing about, and it is also an opportunity: a grower with two seasons of daily temperature readings and weekly counts from a Ugandan house knows something that is not in any publication.
Start the record on transplant day. It is the only part of this that gets more valuable the longer you do it.
Author: Falcon Foundation Ltd Editorial Team
The Falcon Foundation Ltd Editorial Team produces evidence-based agricultural guidance for Ugandan farmers, drawing on published research and institutional sources and translating them into practical decision support. Where evidence is unavailable or contested, we say so rather than filling the gap.